DIY Solar Panel Installation: Powering Your RV Adventures (Without the Stress!)
Ever dreamt of endless power on the open road, freeing you from the shackles of shore power hookups? Imagine pulling up to a picturesque monastery parking lot, knowing your coffee maker and all your gadgets are ready to roll, powered by the sun. Well, my friend, that dream is closer than you think, and it doesn't require a team of expert technicians (though a helpful buddy doesn't hurt!).
Today, we're diving into the wonderfully empowering (and sometimes slightly messy) world of installing solar panels on your RV. We'll explore the nitty-gritty of adding more juice to your mobile home, sharing some real-world tips, a few laughs, and maybe even a cautionary tale or two from our recent adventures with a brave friend who traveled all the way from the Czech Republic just for this!
The Quest for Unlimited Energy: Why Solar?
Let's be honest, who doesn't love the idea of "unlimited electricity"? For RV dwellers, solar panels aren't just a fancy accessory; they're a game-changer. They offer the freedom to boondock for longer, reduce your reliance on noisy generators, and generally make your off-grid life a whole lot more comfortable. Plus, there's something inherently satisfying about harnessing the power of the sun to brew your morning coffee.
Our recent experience involved adding a third panel to an existing setup, but the principles we're about to discuss apply whether you're starting from scratch or expanding your solar array. The goal? To maximize energy capture and ensure your batteries are always topped up, ready for whatever adventure comes next. Think of it as giving your RV an energy superpower!
Preparation is Key (and Sometimes a Little Chaotic)
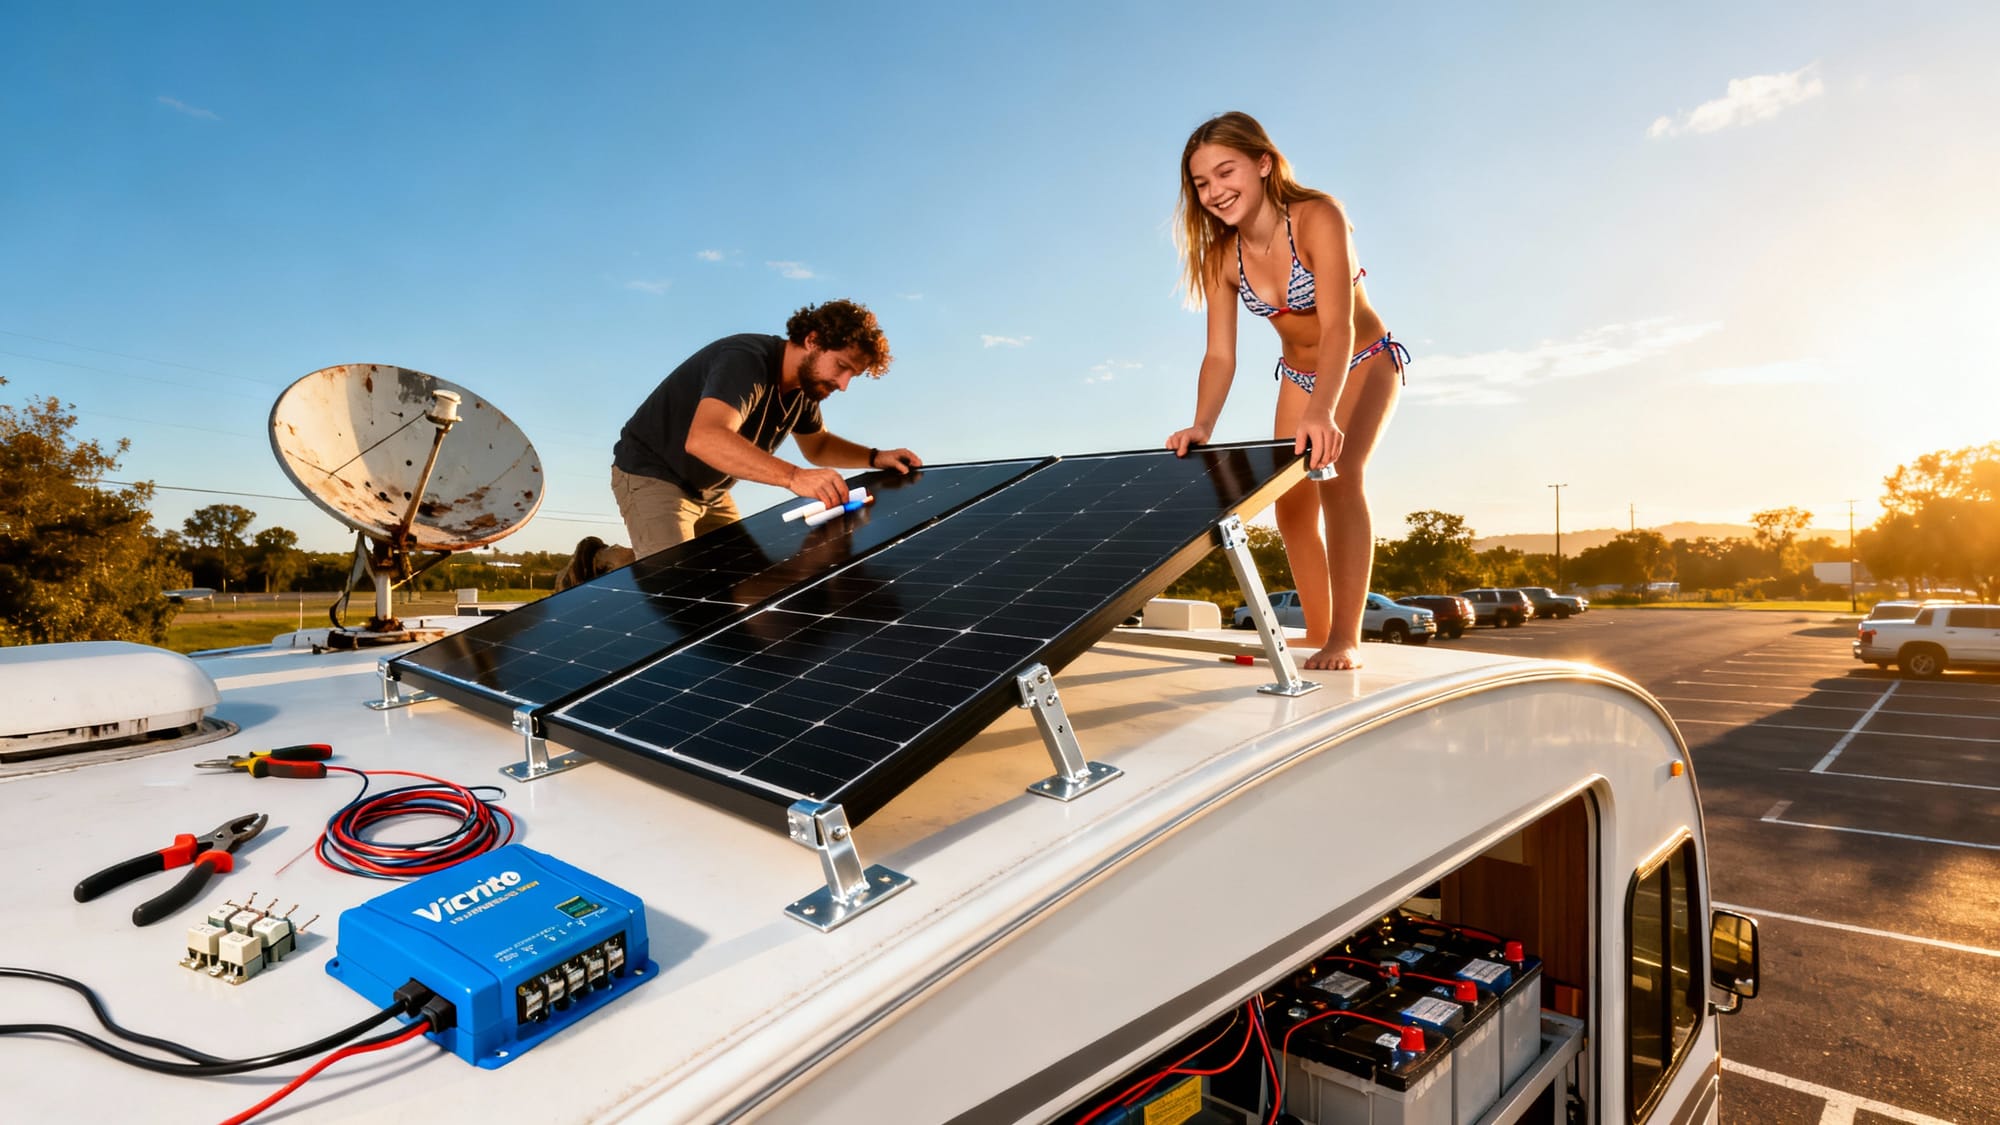
Before you start slapping panels on your roof like a mad scientist, a little preparation goes a long way. Our friend, a first-timer in the solar installation game, arrived with a complete kit, which is always a good starting point. The first crucial step? Unboxing and assembling everything on solid ground. This allows you to check for any missing parts, get a feel for the components, and ensure everything is in working order before you brave the dizzying heights of your RV roof.
A typical solar setup involves the panels themselves, a charge controller (which is essentially the brain of your solar system, regulating the power flow to your batteries), and the necessary wiring and mounting hardware. Our friend even brought a fancy blue Victron controller, a popular choice known for its efficiency. Speaking of controllers, it's worth noting that not all are created equal. We discovered our existing 10-amp controller was actually "clipping" a significant amount of potential power from our 220-watt panels, essentially throwing away about 20 amp-hours a day! Upgrading to a more robust controller, like a 20-amp one, can make a huge difference in how much energy you actually capture.
The Art of Mounting: A Sticky Situation (Literally!)
Now, for the fun part: getting those panels onto the roof! Our preferred method for mounting involves sturdy aluminum brackets and a powerful adhesive. This means no drilling into your precious RV roof, which is a big win for preventing leaks and maintaining structural integrity. It's a method that has served us well for three years, even through countless miles of bumpy roads.
Here’s a simplified breakdown of the mounting process:
- Cleanliness is Next to Godliness: Thoroughly clean the mounting surface with alcohol. Any dirt, grime, or old adhesive residue will compromise the bond.
- Prime Time: Apply a specialized primer to the cleaned surface. This acts as a bonding agent, ensuring the adhesive sticks like glue (because it is glue, essentially!).
- Apply the Adhesive Generously: Don't be shy with the adhesive. We’re talking about securing a valuable piece of equipment to your roof, so a thick, even layer is crucial. Think "almost the whole tube" for each bracket. This is not the time to be stingy!
- Position and Press: Carefully position the panel with the attached brackets onto the primed spots. Apply firm, even pressure to ensure maximum contact.
- Let it Cure: This is perhaps the hardest part for the impatient among us: waiting. The adhesive needs time to fully cure, typically around 24 hours. Resist the urge to tug or test it prematurely!
One of the hilarious (and slightly stressful) moments during our installation involved trying to perfectly position the panel while perched precariously on the roof, attempting to avoid making a sticky mess. It's a dance between precision and not falling off a two-and-a-half-meter-high vehicle. A helping hand (or foot, strategically placed) can be invaluable here!
The Unexpected Hurdles: Demolition Derby and Connector Calamities
As with any DIY project, there are always unexpected twists and turns. Our biggest time-sink wasn't the actual installation of the new panel, but the removal of old equipment. We spent a good 20 minutes (which felt like an eternity when the sun was setting!) trying to pry off an old satellite dish mount that had been secured with six screws. In a professional shop, they'd probably just drill a new hole and cover the old one, but we were determined to do it right. This taught us a valuable lesson: sometimes, the "demolition" phase can consume up to 60% of your total project time!
Another classic DIY hiccup came in the form of mis-matched connectors. We received a batch of "female" connectors when we needed a mix of male and female to complete the wiring. This meant another delay, a frantic search for the right parts, and a generous friend making a special trip from Belgrade to deliver the correct connectors. It just goes to show that even with careful planning, sometimes the universe throws a wrench (or the wrong connector) into your plans.
Wiring Wonders: From Roof to Battery
Once the panels are securely mounted and the connectors are sorted, it's time to tackle the wiring. This involves running the cables from the panels on the roof, through a waterproof entry gland, and down to your charge controller and then to your battery bank. Our RV already had a convenient cable channel from the old satellite antenna, which saved us a lot of time and effort.
Here are some key considerations for wiring:
- Proper Polarity: Always ensure you connect the positive (+) and negative (-) terminals correctly. Reversing polarity can damage your equipment. Red for positive, black for negative – it’s a classic for a reason!
- Fuses and Circuit Breakers: Incorporate appropriate fuses or circuit breakers into your wiring. These are essential safety devices that protect your system from overcurrents. Think of them as tiny guardians for your electrical setup.
- Quality Connections: Use high-quality crimping tools and connectors to ensure secure and low-resistance connections. Loose connections can lead to power loss and even fire hazards.
- Cable Management: Route your cables neatly and secure them to prevent chafing or damage. Nobody wants a tangled mess, especially not on their roof!
Our friend, with his impressive array of tools and meticulous approach, ensured every connection was secure and every wire was routed through a fuse. This attention to detail is what separates a quick, potentially problematic installation from a robust and reliable solar system. In a professional shop, they might rush through it, but when it’s your own RV, you take your time and do it right.
The Sweet Taste of Success (and a Full Battery)
After all the cleaning, gluing, wiring, and connector-hunting, there's nothing quite like the moment you see that charge controller light up, indicating that power is flowing from your panels to your batteries. It's a small victory, but a significant one. We even saw our existing panels, which were previously "clipped" at 140 watts, now pushing over 200 watts with the new, more powerful controller! This means a massive increase in our daily energy harvest, even with just a 120-watt addition.
Of course, the weather plays a huge role. On a cloudy day, you might only get a trickle of power, but the promise of full batteries on a sunny day is enough to make any RV enthusiast smile. And let's not forget the aesthetic benefits! Our new panel neatly covered an unsightly old antenna mount, making the roof look much cleaner and more streamlined. It's amazing how a functional upgrade can also be a cosmetic one.
Beyond the Panels: Friendship and Food
While the goal was to install solar panels, the experience was about so much more. Our friend's visit wasn't just for a DIY project; it was an opportunity for three days of shared laughter, good conversation, and delicious food (thanks to our amazing cook, Yulia, who always knows how to whip up a feast!). These are the moments that truly make RV life special – the camaraderie, the shared challenges, and the satisfaction of working together to achieve a common goal.
And who knows, maybe our next solar adventure will involve a trip to Prague to visit our friend's brewery. After all, what's better than unlimited electricity? Unlimited electricity and craft beer, of course! So, whether you're a seasoned RV veteran or just dreaming of hitting the road, consider the power of solar. It's an investment in freedom, comfort, and a whole lot of sunny adventures.
Final Thoughts: Go Forth and Generate!
Installing solar panels on your RV might seem daunting at first, but with a bit of planning, the right tools (or a friend with all the tools!), and a healthy dose of patience, it's an incredibly rewarding project. You'll gain a deeper understanding of your RV's electrical system, enjoy the independence of generating your own power, and perhaps even make some unforgettable memories along the way.
So, what are you waiting for? Embrace the sun, grab your tools, and get ready to enjoy the boundless possibilities that come with a solar-powered RV. Your batteries (and your sense of adventure) will thank you!