Mastering Water Systems in Your Camper: A Practical Guide to Mobile Plumbing
Is it really as simple as throwing a tank and a pump into a van and calling it a day? While the concept of mobile plumbing seems straightforward, anyone who has spent a night in a leaking DIY camper will tell you that the devil is in the details.
Setting up a reliable water system is one of the most debated topics among van builders. From choosing the right pump to deciding between a simple jerry can or a complex 100-liter setup, the choices you make during the build will define your comfort on the road for years to come. Let’s break down the components and logic behind a system that actually works.
The Two Main Philosophies: Submersible vs. Pressurized Systems
Before buying a single fitting, you need to decide which "camp" you belong to. Generally, water systems in campers fall into two distinct categories based on the type of pump used.
The Submersible Pump System is the favorite for micro-campers and weekenders. This setup usually involves a portable jerry can tucked under the sink. The pump sits directly inside the water, and it only activates when you trigger a switch—either a manual button, a foot pedal, or a specialized tap with built-in contacts. It’s cheap, it doesn’t hold pressure (which means fewer leaks), and it’s incredibly easy to repair. However, it requires frequent manual refilling and lacks the "home-like" feel of a steady stream.
The Pressurized System is the standard for larger motorhomes. Here, the entire plumbing line stays under pressure. When you open the tap, the pressure drops, a sensor triggers the pump, and water flows instantly. This system allows for fixed external fill points, hot water heaters, and internal showers. It is more complex and expensive, but it offers a level of comfort that makes long-term travel much more sustainable.
Choosing and Installing the Water Tank
When it comes to water storage, bigger isn't always better. While it’s tempting to install a massive 300-liter reservoir, remember that water is heavy—1 liter equals 1 kilogram. Hauling 300kg of sloshing liquid significantly impacts fuel economy and vehicle handling.
- Material Matters: Opt for thick-walled, food-grade plastic tanks. They are elastic enough to resist cracking during vibrations and are much easier to drill for fittings than stainless steel.
- The 100-Liter Rule: For most travelers, a 100-liter tank is the "sweet spot." It provides enough water for several days of frugal use without turning your van into a heavy tanker truck.
- Baffles and Safety: If you do go for a massive tank, ensure it has internal baffles or "wave breakers." Without them, a sudden stop can cause the water to surge forward with enough force to rip the tank from its mounts.
Pro-Tip for Tank Fittings
Most people install their outlet fittings at the very bottom of the tank. While logical for drainage, it creates a constant leak risk. Instead, consider installing all fittings at the top of the tank. Use a "dip tube" (a pipe or hose) that runs from the top fitting down to the floor of the tank. This way, if a seal fails, water won't gravity-drain all over your floor while you're asleep.
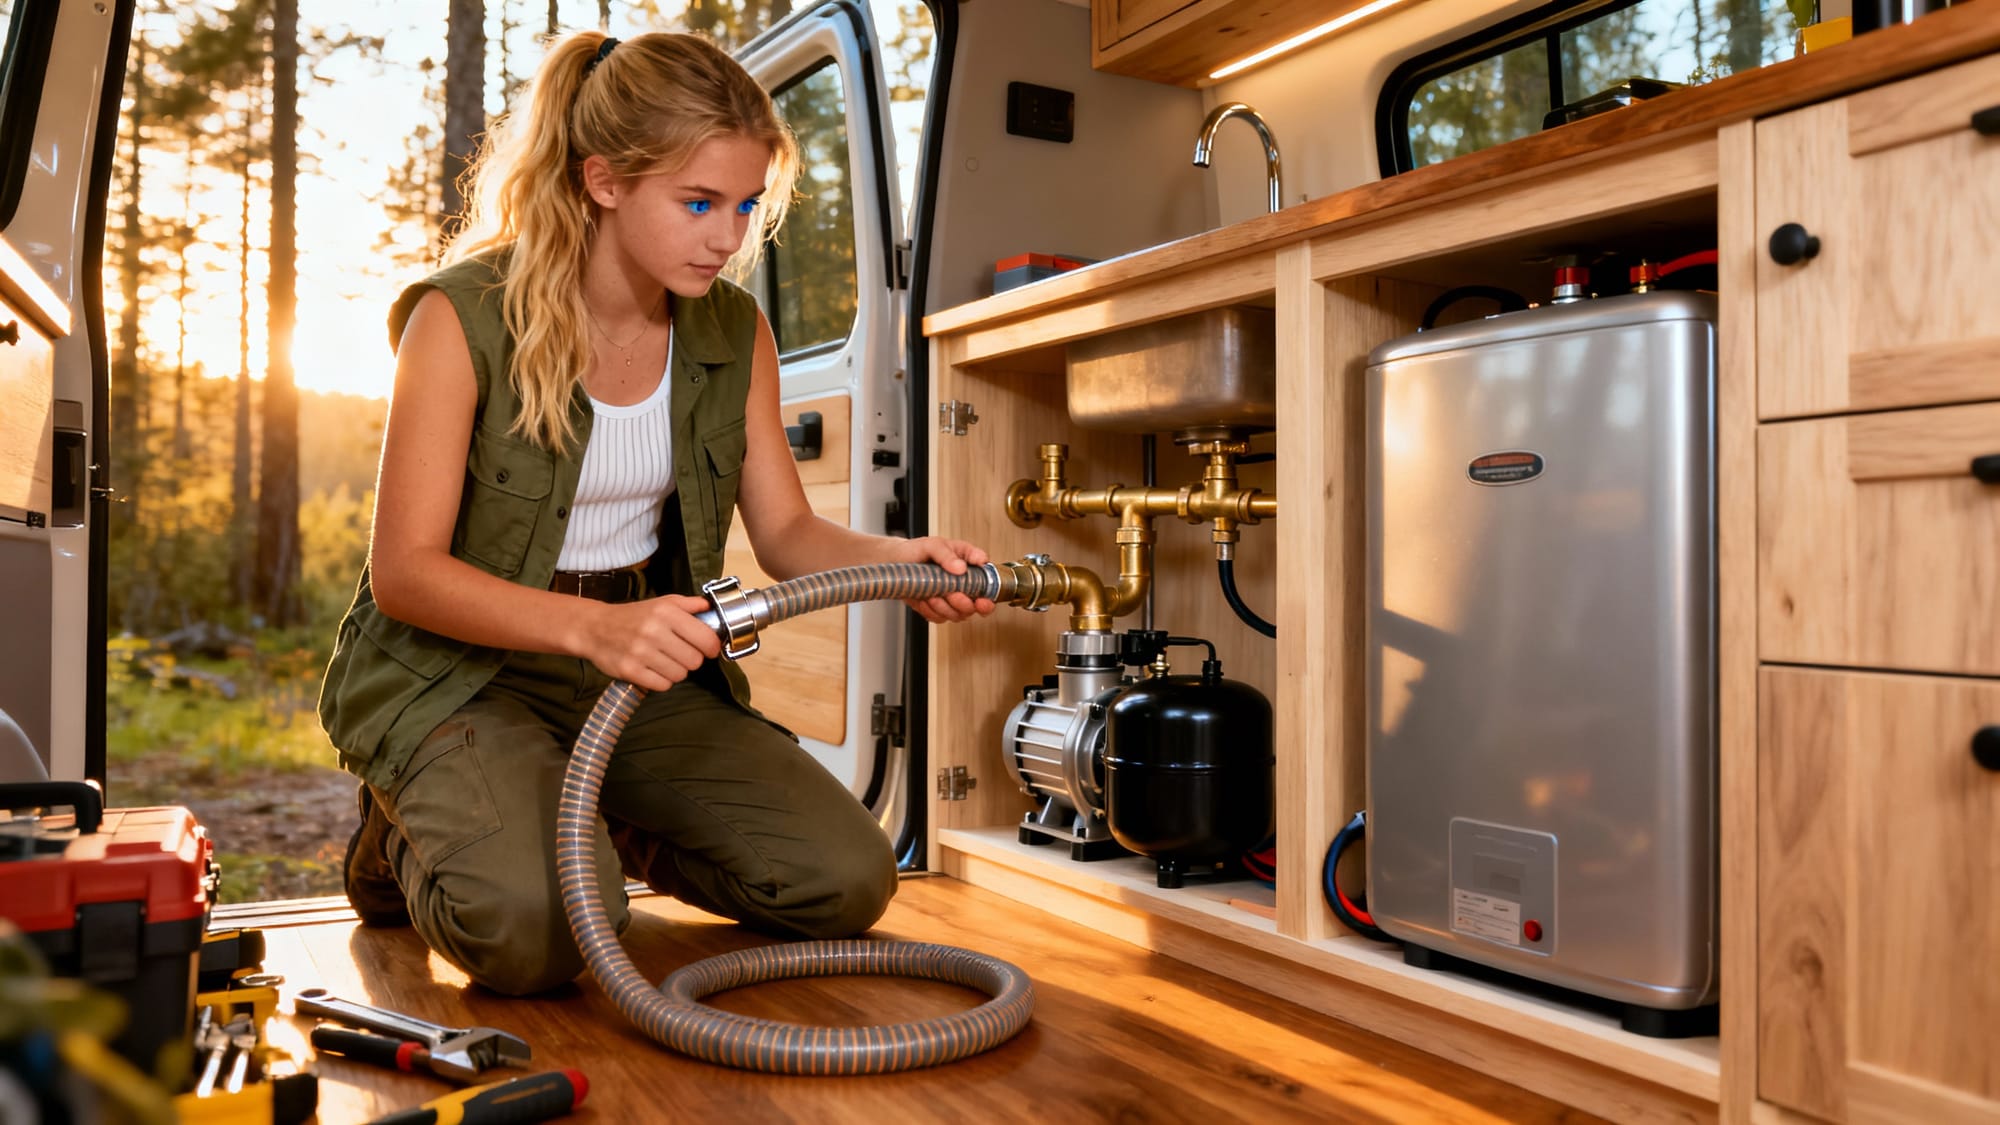
Pumps, Accumulators, and Smooth Flow
If you choose a pressurized system, the pump is the heart of your van. Don't skimp here. Cheap pumps are notoriously loud and produce a "pulsing" flow that makes washing dishes a rhythmic nightmare. A high-quality diaphragm pump (with three or more chambers) will run quieter and last longer.
To truly achieve a smooth, residential-style flow, you must install an accumulator tank immediately after the pump. This is a small, pressurized canister that acts as a buffer. It smooths out the pulses from the pump and prevents the motor from "cycling" (turning on and off rapidly) when you're only using a tiny trickle of water. It’s a small investment that drastically increases the lifespan of your pump and the sanity of your passengers.
The Hot Water Dilemma: Safety First
How do you get a warm shower in the middle of nowhere? This is where many DIY builders take dangerous shortcuts. A common trend is installing cheap, household gas water heaters intended for stationary apartments. Do not do this.
Household units are not designed for the vibrations of a moving vehicle. Copper pipes can crack, and gas seals can fail after a few hundred miles of bumpy roads. To stay safe, you have three real options:
- Certified Gas Boilers: Expensive, but specifically designed for campers with proper ventilation and vibration resistance.
- Electric Boilers: These come in 12V or 220V versions. They take longer to heat (often 60–90 minutes), but they are incredibly safe and simple to install.
- Heat Exchangers: Some advanced systems use the heat from your vehicle’s engine coolant or a diesel air heater to warm the water. This is highly efficient but requires more complex plumbing.
The Secret to a Leak-Proof Build: Don't Buy Cheap Hose
If there is one place to spend your extra budget, it’s on high-quality hoses. Standard garden hoses or cheap PVC tubing will eventually kink or crack. When a hose kinks, the pressure builds up until a fitting blows, usually in a place that is impossible to reach without dismantling your kitchen cabinets.
Look for reinforced, food-grade hoses. Ideally, use the type of heavy-duty hosing used in professional air conditioning or high-pressure food systems. These hoses are virtually impossible to kink and can withstand extreme temperature fluctuations. Even if your water freezes in the winter, a high-quality hose will often expand and survive, whereas cheap plastic will shatter like glass.
Monitoring and Maintenance
You don't want to find out you're out of water while you're covered in soap. A simple water level sensor is a must-have. While professional camper-specific displays can be overpriced, you can often find reliable "float-style" sensors used in the marine or automotive industry that work perfectly well for a fraction of the cost.
Finally, remember the air vent. As the pump pulls water out of the tank, air must be able to get in. If your tank is airtight, the pump will create a vacuum, eventually collapsing the tank or burning out the motor. Always install a small breather hose that leads to the outside of the vehicle or joins the filler neck.
Final Thoughts
Building a water system is about balancing comfort with reliability. If you’re just starting out, keep it simple. You can always upgrade from a jerry can to a fixed tank, but it’s much harder to fix a moldy floor caused by a burst "budget" pipe. Focus on high-quality connections, prioritize safety over heat, and always carry a spare pump—because the road is a lot more fun when you aren't worried about where your next liter of water is coming from.
Ready to start plumbing? Take your time, double-clamp every connection, and always do a "leak test" for a few hours before you hide those pipes behind your beautiful wood paneling!